Outdoor Faucet Problems After Moving & When to Replace Hose Bibs
Just moved into a new home and found leaking or broken outdoor faucets? Learn common hose bib problems, when to replace them, and how to prevent future damage.
We Got a Call About Two Bad Hose Bibs…Here’s What We Found
We recently got a call from a new homeowner — let’s call him Mark — who had just moved into his house and was already frustrated with his outdoor faucets.
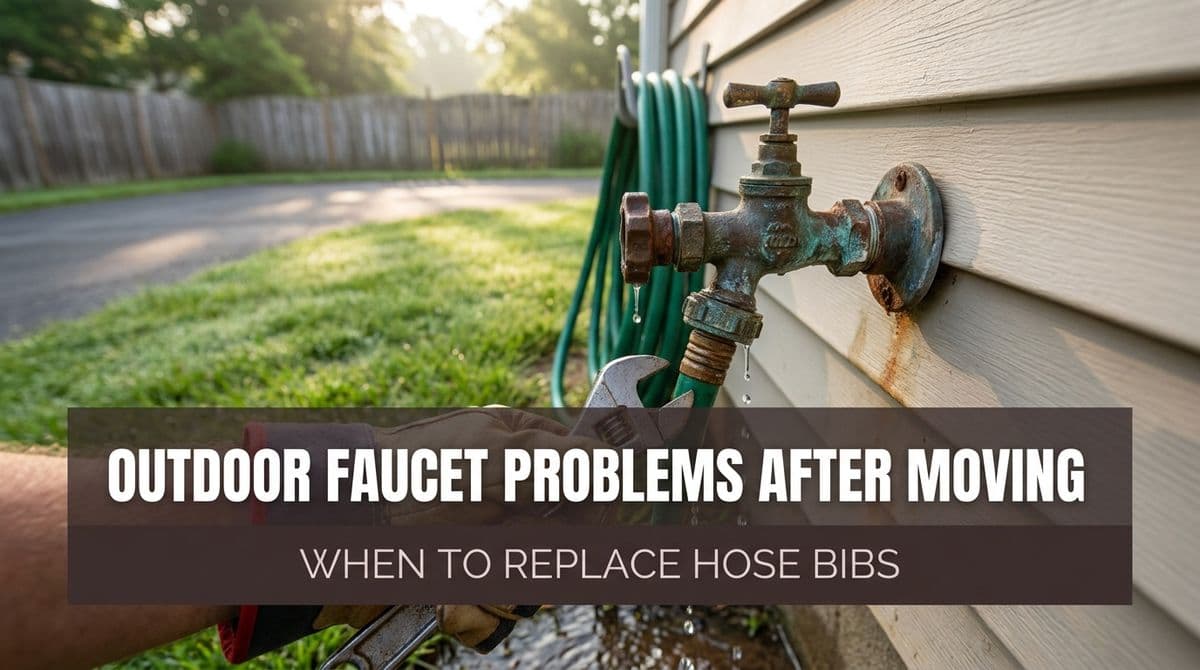
Mark told us there were two hose bibs outside. On one, the previous owners had cut the hose off and left the threaded end stuck on the faucet. On the other, the faucet body itself had split, so when he turned it on, water sprayed everywhere instead of neatly into the hose.
He wanted to know if it made sense to repair them or just replace them, what it would cost, and whether this was something he should worry about before using them for the season. We scheduled him for a morning appointment and, on that call, walked through exactly what was going on and what we typically recommend in cases like his.
We see problems like Mark’s all the time when people move into a new home, so we thought it would be helpful to share what we explained to him — and how to know when it’s time to replace your hose bibs rather than keep fighting with them.
Common Outdoor Faucet Problems After Moving In
When you first move into a home, you usually discover hose bib problems during your first big watering day — washing the car, watering new plants, or setting up a sprinkler for the kids. Here are the most common issues we uncover on that first visit.
1. Split or Cracked Hose Bib Body
This was the case with Mark’s second faucet. The metal body of the hose bib had a visible split. That usually means the faucet froze over the winter at some point, expanding the water inside and cracking the metal.
Signs you’re dealing with a split body include:
- Water spraying out from the side of the faucet, not just the spout
- Rusty or greenish stains around the crack
- A faucet that “looks fine” off, but leaks heavily once turned on
Once the faucet body is cracked, there’s no reliable repair. Sealants and tapes are temporary at best and can fail suddenly. In these cases, we almost always recommend full replacement.
2. Stuck or Broken Hose Connections
On Mark’s other faucet, the previous owners had literally cut the hose off and left the threaded end fused to the spout. This usually happens when:
- The hose and faucet threads are corroded together
- The fitting was overtightened
- Hard water has left mineral buildup that acts like glue
Sometimes we can carefully remove a stuck hose end with the right tools. But if the threads are badly damaged, or if we have to twist so hard that we risk cracking the faucet in the wall, it’s often safer (and cheaper long-term) to replace the hose bib.
3. Constant Dripping or Leaking at the Handle
Another issue we walked through with Mark on the phone was leaks at the stem or handle. This is extremely common on older homes. You’ll see water:
- Dripping from the handle when the faucet is on
- Slowly leaking from the spout, even when it’s turned off tight
- Seeping from around the wall penetration
Sometimes this is a simple worn washer or packing that can be rebuilt. But if the faucet is older, corroded, or poorly installed, we’ll often suggest replacement rather than putting new parts on a failing body.
When It’s Time to Replace Your Hose Bibs
One of Mark’s big questions was, “Do these really need to be replaced, or can we just fix them?” Here’s what we told him — and what we tell most homeowners.
Replace Your Hose Bib If You Notice Any of These
- Visible cracks or splits in the metal body
- A hose connection that’s stuck, stripped, or deformed
- Heavy corrosion or green/white buildup all over the faucet
- Leaks that come back even after tightening the packing nut
- The faucet is an old style and you’re upgrading other plumbing
In Mark’s case, the split faucet was a clear replacement, and the one with the cut-off hose was right on the line. Because he had just moved in and wanted reliable outdoor water for years, we agreed that replacing both made the most sense.
The Cost Question: What Homeowners Usually Ask
On the call, Mark also asked what the charge would be to replace both hose bibs. We let him know our price per hose bib so he could do the math and make an informed decision. Whether you work with us or anyone else, it’s completely reasonable to ask:
- Is the price per faucet or for the whole job?
- Does the price include parts and labor?
- Is there an additional service call or trip fee?
Having those answers upfront keeps your project—and your budget—on track.
Why Professional Installation Matters
Hose bibs seem simple from the outside, but there’s more going on behind the wall than most people realize. When we explained this to Mark, he was glad he hadn’t tried to muscle that stuck hose off himself.
A professional replacement matters because we can:
- Check for hidden leaks or water damage inside the wall
- Verify the pipe is properly supported and insulated
- Install frost-free outdoor faucets when appropriate
- Ensure everything is properly sealed at the siding or brick
- Test your shutoff valves and overall outdoor water pressure
A rushed DIY job can crack copper inside the wall, create slow leaks, or leave connections only partially tightened. Those problems may not show up right away, but they can cause serious damage over time. Having us handle it means your new hose bibs are set up correctly from the start.
How to Prevent Future Hose Bib Damage
After we schedule a visit, new homeowners like Mark often ask what they can do so they don’t end up with split faucets again in a few years. Here are the tips we share at the door before we leave.
Simple Habits That Extend Hose Bib Life
- Disconnect hoses before freezing weather. Leaving a hose attached traps water in the faucet and can cause it to split when temperatures drop.
- Turn off interior shutoff valves (if you have them) and open the outside faucet to drain any remaining water before winter.
- Avoid overtightening hoses. Snug is enough — cranking on the connection with pliers can damage threads and make hoses seize in place.
- Use a short leader hose or quick-connects if you swap hoses and sprinklers often. This protects the faucet threads from daily wear.
- Inspect once each season. Look for leaks, corrosion, or soft spots around the wall so small issues don’t turn into big repairs.
These are simple steps, but over years they make a big difference in how long your hose bibs last and how often you need to call us out.
Just Moved In and Noticed Outdoor Faucet Problems?
If you’ve just moved into a new place and your outdoor faucets are stuck, split, or spraying everywhere, you’re not alone — we help new homeowners like Mark with this every week.
Whether you already know you need new hose bibs or you’re just not sure what you’re looking at, we can come out, inspect your outdoor faucets, explain what we find in plain language, and recommend the most practical fix for your home and budget.
That way, the next time you turn on your outdoor water, you’ll get exactly what you expect: water where you want it, and nowhere you don’t.