Installing a Gas Tankless in Place of a Tank Heater
Thinking about swapping your old tank water heater for a gas tankless? Here’s what you need to know about venting, location, and using your existing equipment safely.
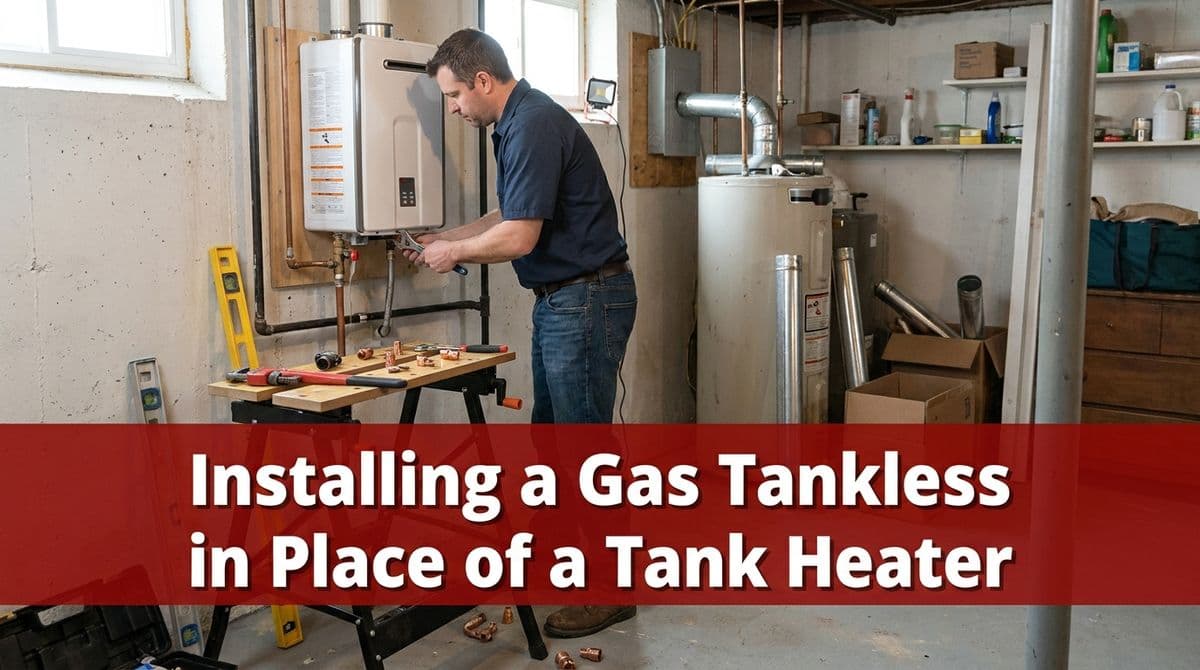
Thinking About Swapping Your Tank for a Gas Tankless? Read This First
We recently got a call from a homeowner — let’s call him Mark — who was excited about finally upgrading his old 40-gallon tank water heater. He’d already bought a gas tankless unit (a condensing Rinnai), a return valve for recirculation, an exhaust vent kit, a water softener, and a sediment filter. The big question on his mind wasn’t just, “Can you install this?” but rather:
“Can we put this tankless right where my old tank is, and what do we need to do for venting and all this extra equipment?”
That’s exactly the kind of situation we see more and more — homeowners buying high-efficiency equipment and then calling us to make sure it’s installed safely and correctly. So using Mark’s project as an example, let’s walk through what you really need to know about venting, location, and using your existing setup when replacing a tank water heater with a gas tankless.
Why We Always Start With an In‑Home Visit
When Mark called, he asked if he could just send us the model number and get a quote over the phone. We were able to give him a rough estimate, but we still scheduled a visit to his home.
Here’s why an on-site look matters so much for tankless installs:
- Every mechanical room is different. Ceiling height, clearances, doors, and other equipment all affect where the new unit can go.
- Existing venting may not be usable. A tankless, especially a condensing model, often needs a completely different kind of vent than an old tank heater.
- Gas and water lines may need to be modified. Tankless units often require larger gas lines and revised piping layouts.
So yes, we can ballpark things remotely, but for a safe, accurate price and a code-compliant installation, we want eyes on the job — just like we did for Mark.
Venting a Gas Tankless: You Usually Can’t “Just Use What’s There”
Mark’s house is brick, and his existing tank water heater vented through the roof. He asked if we could simply reuse that vent pipe or whether we’d have to “go through the brick” on an outside wall. He had already purchased a vent kit, just in case.
Here’s the key thing for homeowners to understand:
- Your old metal vent is rarely compatible with a modern condensing tankless water heater.
- Condensing tankless units use low-temperature exhaust that can be vented in PVC, CPVC, or special polypropylene systems (depending on the manufacturer’s instructions).
- Venting must follow the manufacturer’s exact rules for pipe size, length, number of elbows, slope, and termination clearances.
With a brick home like Mark’s, we typically look at two main options:
- Sidewall venting: Running the new vent horizontally through the exterior wall. This usually means coring through brick, installing approved vent pipe, and properly sealing and finishing around the penetration.
- Vertical venting: Running a new vent up through the roof — sometimes using the old chase or penetration, but with new, properly sized vent materials inside.
Deciding between those options depends on the unit’s location, framing, roof layout, and what gives us the safest and cleanest path. That’s exactly what we checked when we visited Mark’s home.
What You Can Do Before We Arrive
If you’re planning a similar upgrade, here are some smart steps:
- Write down the full model number of the tankless unit you’re considering (or already purchased).
- Take a few photos of your current water heater and its vent path (where it goes out through the wall or roof).
- Note any obstructions outside near the potential vent termination (windows, doors, decks, gas meters, etc.).
Those details help us quickly determine whether sidewall, vertical, or another venting approach is best.
Can the Tankless Go in the Same Spot as the Old Tank?
Mark hoped we could mount the tankless right where his 40-gallon tank was sitting. In many cases, that’s doable, but there are some important considerations.
Space and Clearances
Tankless units are smaller, but they need specific clearances around them for service and safety. We look at:
- Distance from combustibles and nearby fixtures
- Ceiling height and accessibility for maintenance
- Room for the vent pipe and condensate drain
Sometimes we can put the unit on the same wall; other times we shift it over a bit for a cleaner vent route or easier access.
Gas, Water, and Condensate Lines
Swapping tank for tankless isn’t just “disconnect and reconnect.” We also verify:
- Gas line sizing: Tankless heaters often draw more BTUs when firing, so we may need to upsize the gas line or adjust the gas manifold.
- Water line routing: The hot/cold connections are in different spots, and if you’re adding recirculation, that adds another connection.
- Condensate drain: Condensing tankless units produce condensate that must be safely routed to a drain and, in some areas, neutralized.
In Mark’s case, the existing location worked, but we had to map out all three of those systems during the estimate visit.
What About Extras Like Recirculation, Softeners, and Filters?
Mark had already purchased a recirculation (return) valve, a water softener, and a sediment filter, hoping to install everything in the same utility area.
Those add-ons are great, but they do require more planning:
- Recirculation: We confirm whether your plumbing supports a dedicated return line or if we’ll be using a crossover valve at a fixture. This affects how quickly you get hot water at distant taps.
- Softener: We lay out where the softener and brine tank will sit, how we’ll pipe the bypass, and how we’ll run the discharge line to a proper drain.
- Sediment filter: We choose a location that’s easy to access for cartridge changes and where it won’t starve the tankless unit for flow.
If you’ve already bought equipment like Mark did, bring all manuals and parts to the walkthrough. We’ll confirm everything is compatible and let you know if anything needs to be swapped before installation day.
Planning Your Installation Timeline
Mark works nights, so we scheduled his estimate visit for a morning when he was off, and then set the installation for the following week. That kind of planning helps the day run smoothly for everyone.
When you’re ready to move forward, here’s what helps us help you:
- Have a few possible dates in mind for both the estimate and the install.
- Make sure we can access the mechanical area easily (clear boxes, storage, etc.).
- Tell us upfront if you’re considering future add-ons like softeners or filters, so we can plan piping accordingly.
Upgrading to a gas tankless water heater is a fantastic way to get endless hot water and better efficiency — but only when it’s installed with the right venting, location, and piping. If you’re looking at making the same switch Mark did, we’re happy to come out, take a look, and walk you through exactly what your home needs before a single pipe is cut.